

Migrating Oracle Database to AWS Cloud using AWS RDS, AWS S3 and Oracle Data Pump (PART - I)


Table of contents
Hola geeks !!
Are you thinking to migrate your on-premise Database to AWS cloud? If yes, This blog would help you do so !!! Let's start.....
Our final Goal for this tutorial is to migrate our On-Premise Oracle Database to an Oracle Database instance over AWS Cloud, where AWS should be responsible to handle the software updates and patching of our database.
This blog is going to be a bit long, as it contains each and every step that should be followed in order to successfully migrate your Database with No issues. For your comfort, I have divided this Blog into two parts. If you have already read Part - I, then you can jump off to Part - II .
* Prerequisites
Knowledge over Oracle Database Administration is must.
Understanding of AWS Services like - Relational Database Service (RDS), Simple Storage Service (S3), Identity & Access Management (IAM), AWS DynamoDB, AWS Aurora, Elastic Compute Cloud (EC2), CloudFormation will be a plus.
SQLPlus utility installed on the system that will be used for performing migration operations.
Having SQL Developer will be a plus point !
* Analysis Phase
- What kind of migration it is going to be ?
So here at this step, we have to check on what kind of migration it is going to be. Whether it is Homogeneous or Heterogeneous.
Homogeneous migration means the source and target database are going to be of the same type. Example: Migrating an on-premise Oracle Database to an Oracle DB over AWS.
Oppositely, In Heterogeneous migration the source and target database will be of different type. Example: Migrating an on-premise Oracle Database to PostgreSQL DB over AWS.
In this Blog, We will learn about performing an Homogeneous migration from on-premise Oracle DB to an Oracle Instance of RDS.
- Deciding over the Target in AWS:
While migrating the database to AWS you should have answers of below questions:
Do you wish to manage patching of your Oracle Database and software updates on your own ?
What is the Type of your Target Database ? --> Is it Non-Relational Database (Eg. MongoDB) or It is a Relational one (MySQL, Oracle, PostgreSQL).
Do you want to use any AWS provided Database like DynamoDB or Aurora ?
So, answer to above questions will help you decide on your target service in AWS. For us below are the things we need -->
We want AWS to manage the patching and Software updates. So here EC2 moves out of the picture because EC2 is an IaaS that can host any application server based on your customizations and requirements. If you want to host your Database over EC2 then you will have to manage the software installations, managing licences etc. So for our need we have options left as - RDS, DynamoDB and Aurora where AWS will manage the software updates and patching like tasks.
Our Target database will be of Relational type, as we want to move our Database from Oracle to an Oracle Instance only. So we can't use Dynamo DB here, as it is a Non-Relational Database service provided by AWS. So now we are left with - AWS RDS and AWS Aurora.
We don't want to use any AWS provided Database. We want to move our Oracle Database to an Oracle DB Engine only. So the only option we are left with is AWS RDS because AWS Aurora is a kind of relational database in itself that supports MySQL and PostgreSQL databases but with an AWS built InnoDB Engine.
NOTE : Migrating from a Relational to Dynamo DB is possible, but it has some limitations. Dynamo DB will not support Triggers, Procedures, Functions and Packages if you have any.
- Like this, you can decide over the type of service you want. For our case, we will be moving on to AWS RDS.
- Deciding over the instance class type for AWS RDS:
The source database might be hosted over some server. And that server might be having some specifications and configs like: RAM Capacity, Disk Space, Number of CPUs, CPU Speed & CPU Type.
So, the target database instance should also possess similar kind of configuration to host the database.
Example: Your on-premises Database is hosted over a server with the below specifications:
- RAM – 32 GB
- CPUs – 7
- CPU Speed – 2400MHz
CPU Type - Intel Xeon E5-2680 V2 10 Core
Looking at above specifications and comparing to multiple RDS Instance class types, we can select “Db.m5.2xlarge” AWS RDS instance class type for your target Oracle Database. Db.m5.2xlarge instance has the following specifications:
- RAM – 32 GB
- CPUs – 8
- CPU Speed – 2.5 GHz
- CPU Type – Intel Xeon Platinum Processor
- Analysing the Content of Source Database:
• Get the list of available Tablespaces and the size of each Tablespace. As you will have to create the same in your target database. You can make use of below script to get the details.
select b.tablespace_name, tbs_size Tablespace_Size_GB, a.free_space FREE_SPACE_GB
from (select tablespace_name, round(sum(bytes)/1024/1024/1024 ,2) as free_space from dba_free_space
group by tablespace_name) a, (select tablespace_name, sum(bytes)/1024/1024/1024 as tbs_size from dba_data_files
group by tablespace_name) b where a.tablespace_name(+)=b.tablespace_name;
• Get the list of roles. We will have to create the similar roles in the Oracle RDS instance. We can get the list of all the roles from dba_roles table.
select * from dba_roles;
• Get the locale details i.e., NLS_Database_Parameters.
select * from nls_database_parameters;
• Get the Time zone details of the location where your database is hosted. This will help you choose the AWS region where you want to host your RDS instance.
Select dbtimezone from dual;
• Get the list of users/schemas from the Database. You will need these details to export specific Schemas which you want to migrate to Oracle RDS instance.
Select username as schema_name from sys.all_users order by username;
If you have DBA rights then you can use -
Select username as schema_name from sys.dba_users order by username;
• Get the Size of Datafiles over the source database. Getting the size will help you estimate the datafile space you need to use on an RDS instance.
select SUM(bytes) / 1024 / 1024 / 1024 AS DataFileSize_GB from dba_data_files;
• Check for invalid objects in database. If you find any invalid objects in the source database, then either you need to compile them to make the objects valid. If those objects doesn't affect your DB operations, then you can just make a note of count of invalid objects so that you can verify the same after completing the migration. Ideally, the number of invalid objects should remain the same.
You can check the list of invalid objects by using the below query:
select owner , object_type, object_name from dba_objects where status = 'INVALID' order by owner, object_type;
For compiling the objects of particular schema, you can use UTL_RECOMP package as below :
EXEC UTL_RECOMP.recomp_serial('schema name');
or if you want to compile some particular object only, you can use below query:
alter object_type object_name compile;
/* Here object type can be trigger, procedure, view etc.*/
Usually the objects get invalid whenever a change is made to an Oracle table or index or also in some cases to any other Oracle object.
Okay, so now our analysis is done. We have finally gathered all the details to start our Migration process.
* Migration Phase
To migrate the database we are going to make use of Oracle Data Pump Utility. Or simply you might be knowing it as import and export of Oracle dump using impdp and expdp.
- Creating a dump from source database using oracle data pump
At first, we will have to take a backup (create a dump) of data from the source which is required to be migrated. Before creating the dump, you should have an Oracle directory defined in the database that you will be using for exporting the dump file. The exported dump file along with the logs will be stored in that directory.
For creating a directory use below query --
Create directory dir_name as 'D:\some_path\here';
/* specify the path that is accessible to you so that you can access the dump file */
Now you can export the database using expdp command of Oracle Data Pump utility as below:
expdp 'ADMIN@(DESCRIPTION = (ADDRESS = (PROTOCOL = TCP)(HOST = 192.168.1.1)(PORT = 1521)) (CONNECT_DATA = (SERVER = DEDICATED) (SERVICE_NAME = SAMPLEORACLEDB)))' schemas= schema_one, schema_two directory=PUMP_DIR dumpfile=DB_back.dmp logfile=EXPORT.log
you have to run this command in your console. Also, for using expdp, SQLPlus installation is must.

This may take time based up on the size of the data we are exporting.
Okay, so now we have our DB dump. Let's create our RDS instance, S3 bucket and IAM user to access the S3 bucket with full access.
- Creating AWS Resources
If you have knowledge of AWS Cloud Formation templates then you can jump to the Cloud Formation section to create the required stack..
Creating an S3 Bucket -
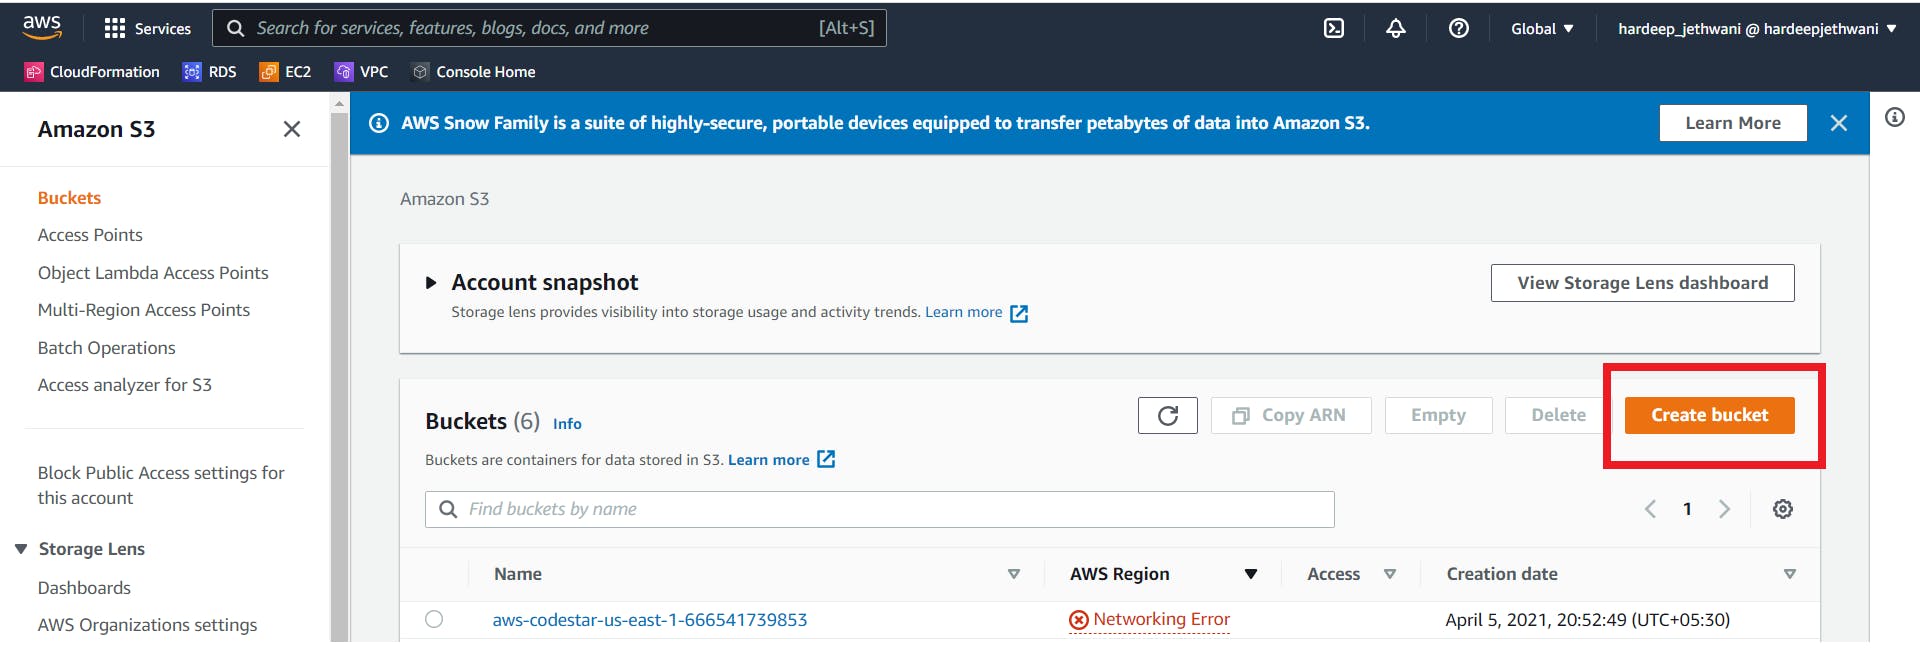
We will need S3 bucket to store the exported dump for restoration in RDS. Go to AWS S3 console and select "Create Bucket".
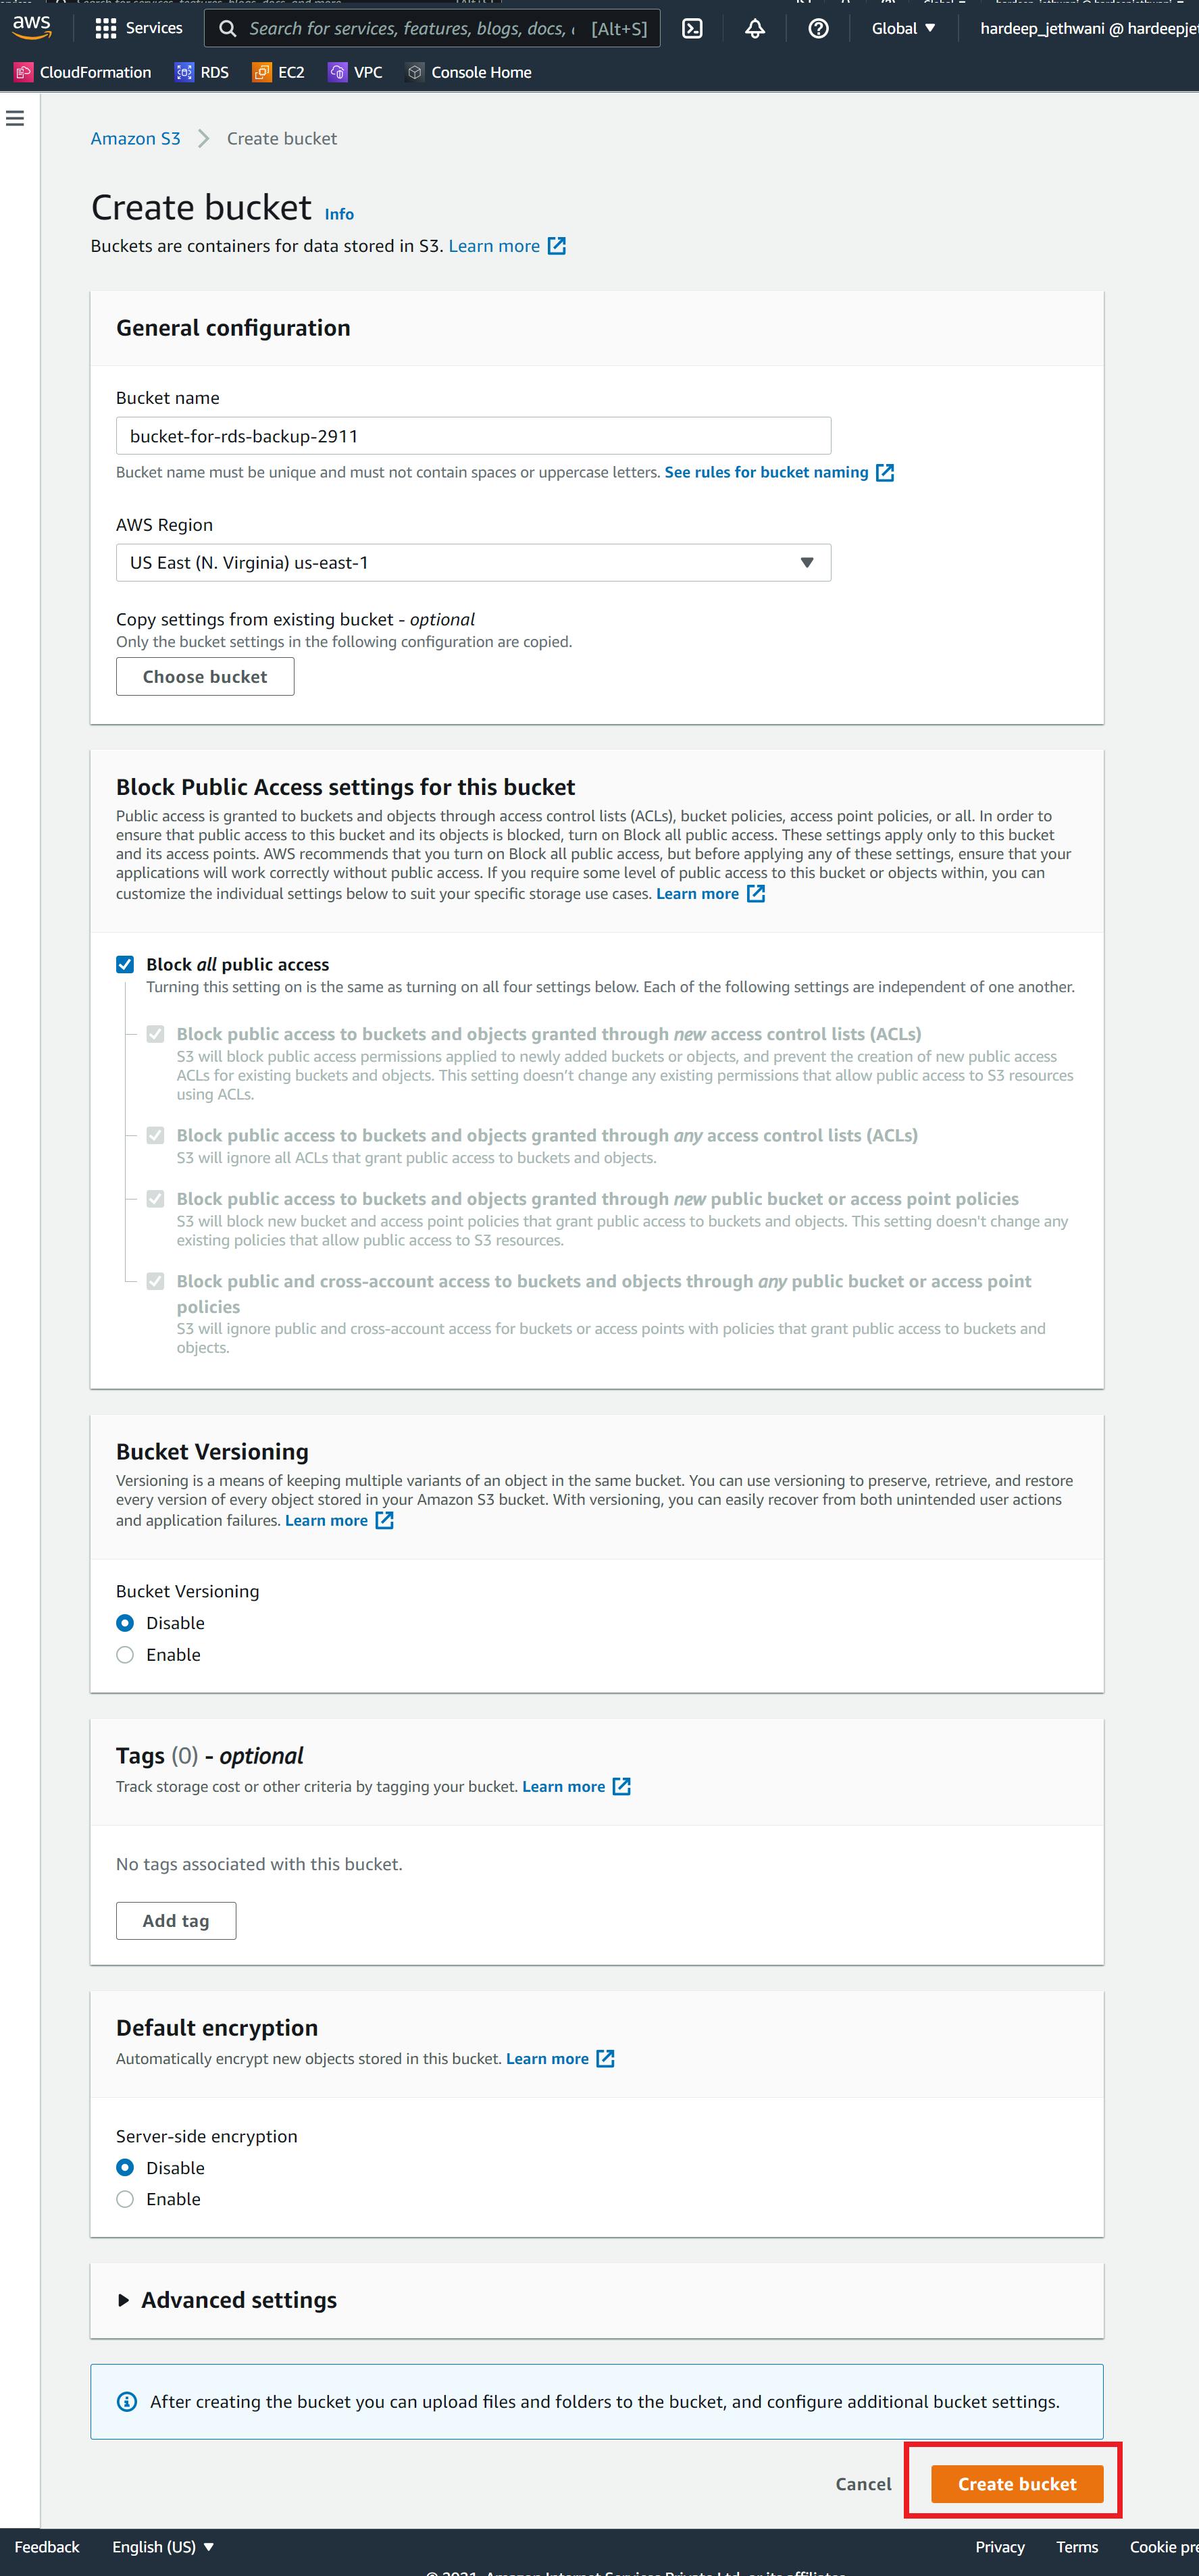
Add the required details for creating the bucket - Bucket Name (should be unique globally), AWS Region, Enable Versioning if required, Enable SSE if needed. Click on create bucket.
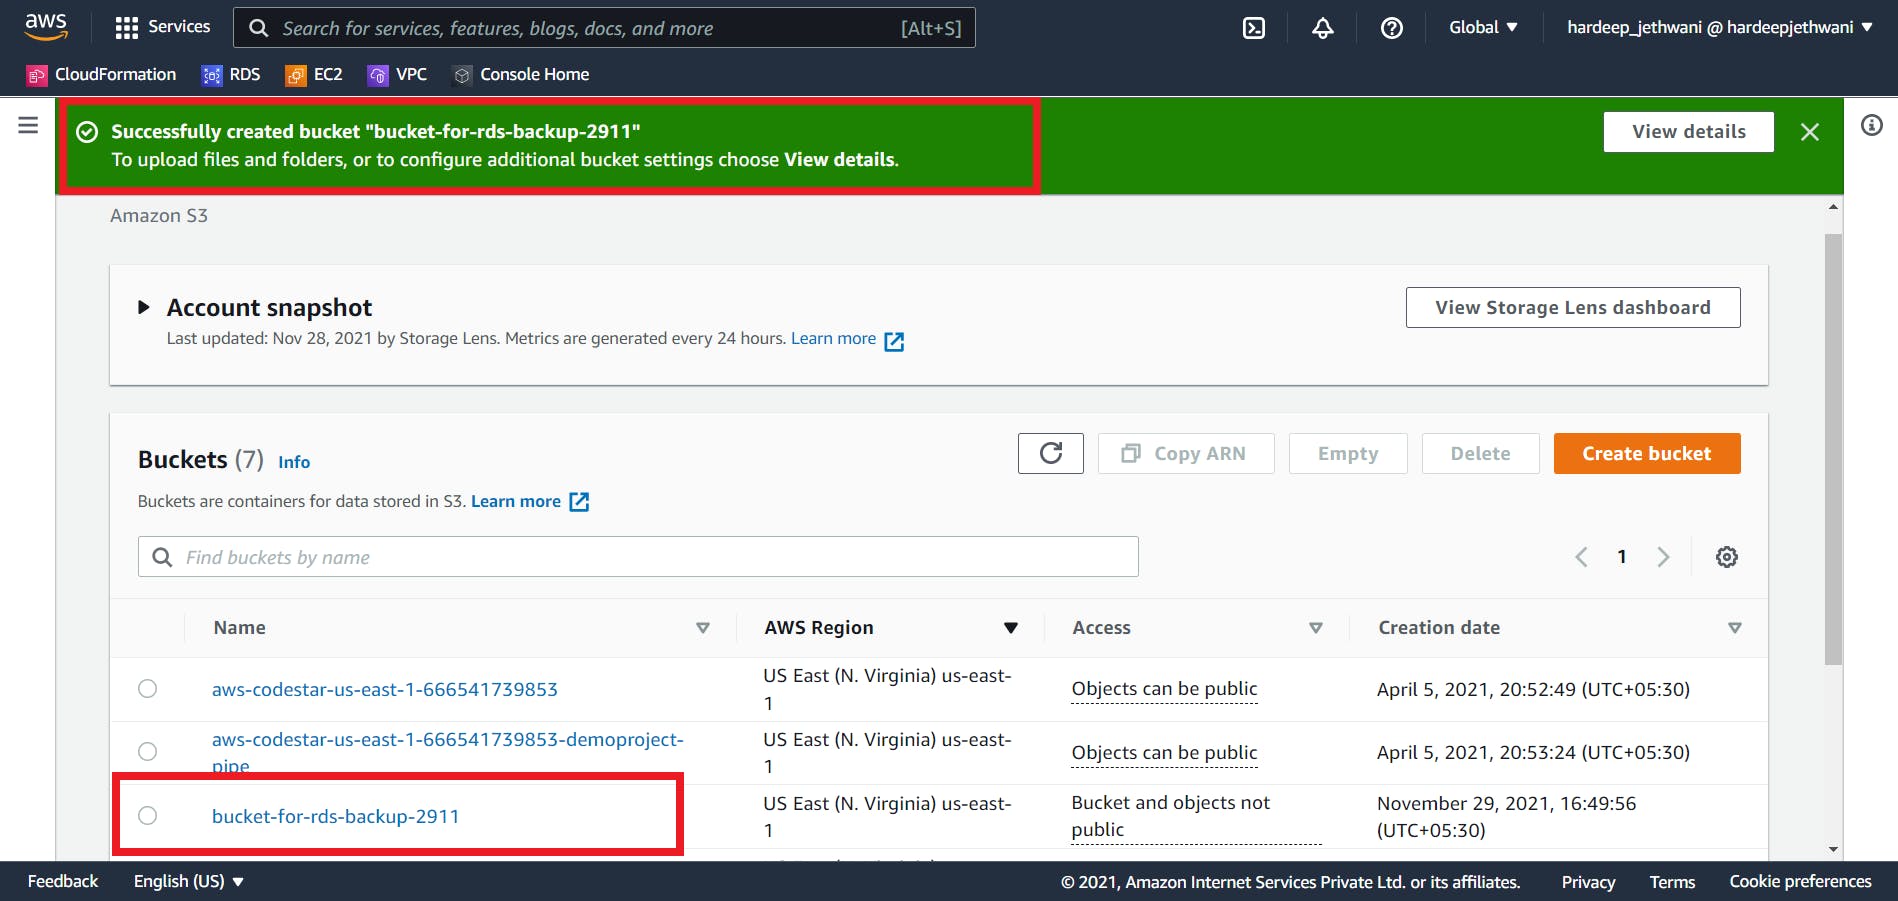
So now our bucket is also created:
Let's move on to creating an IAM user that we will be using to upload our dump to S3 bucket.
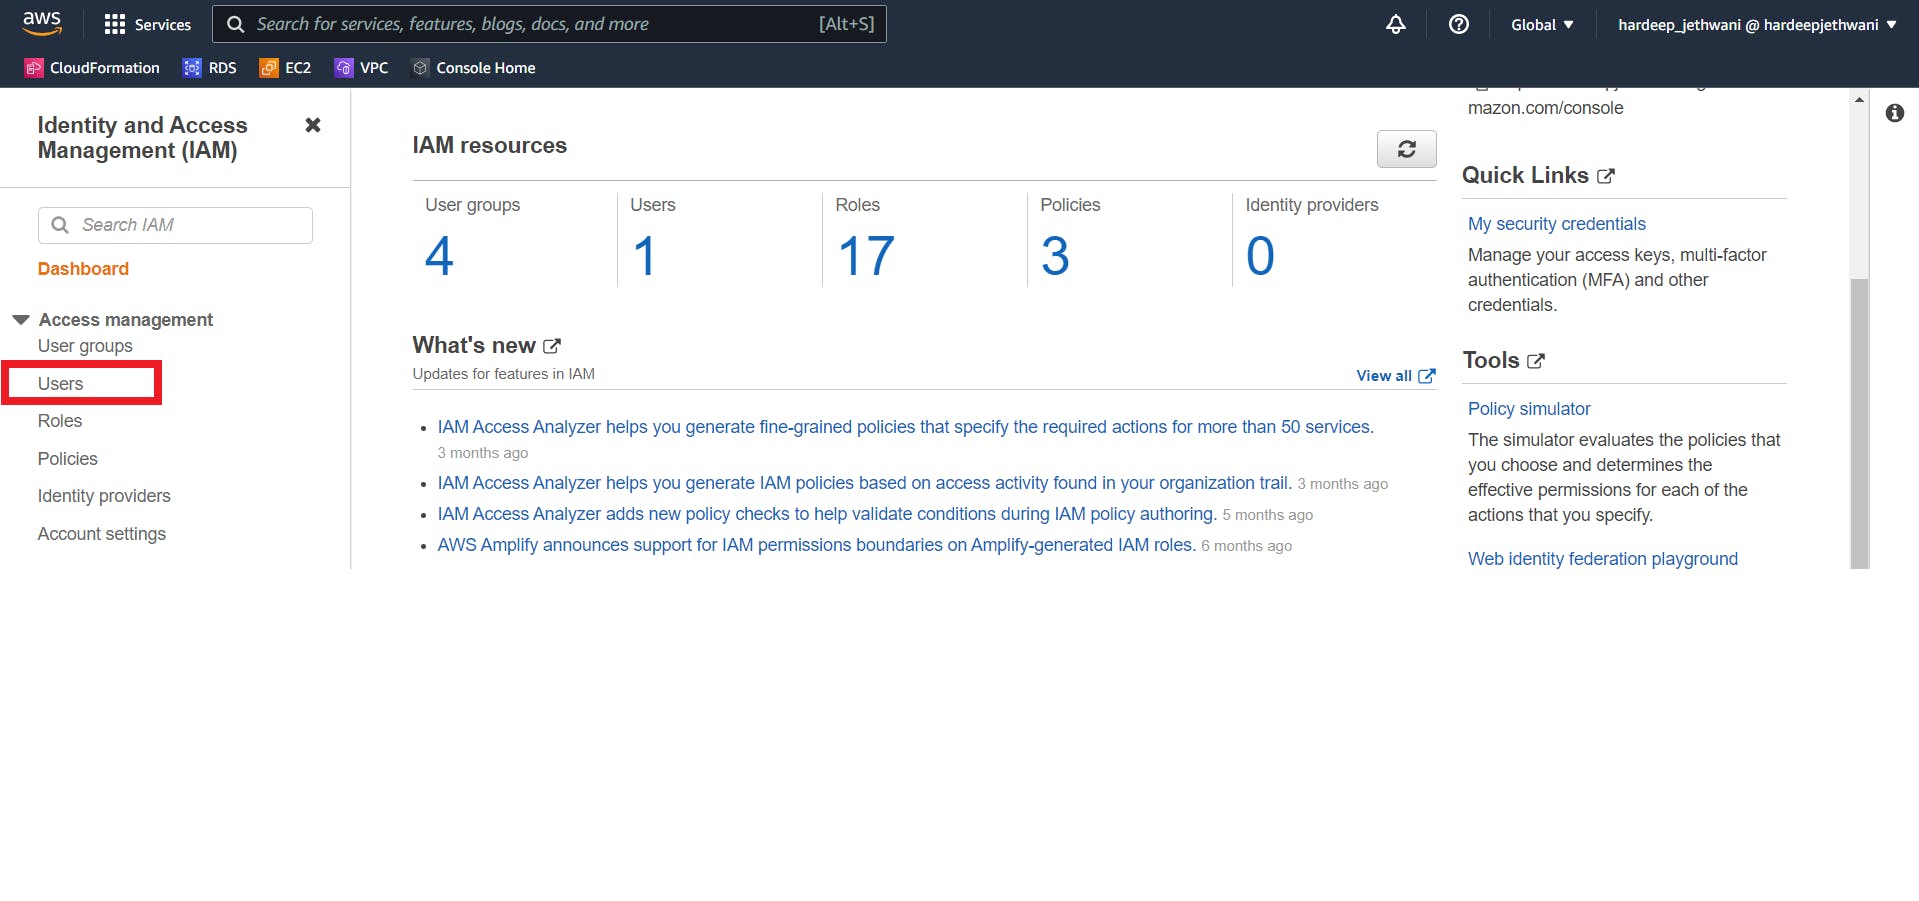
Creating IAM user -
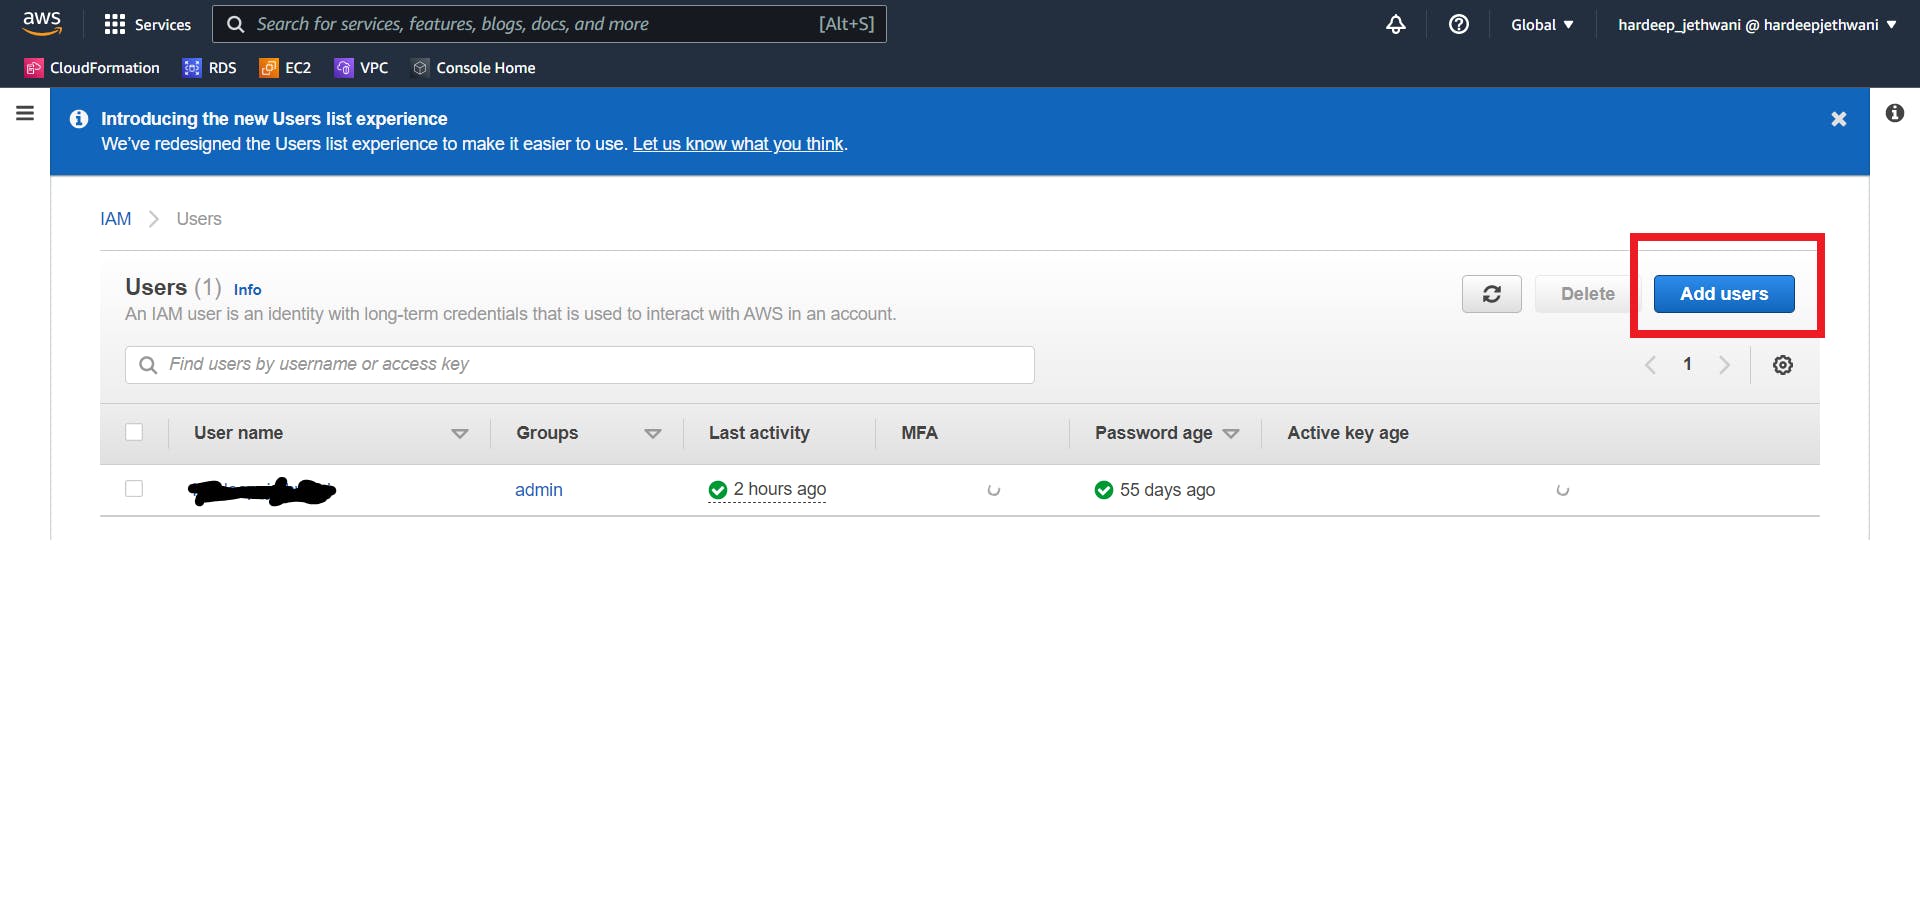
Just move on to IAM console in AWS and go to Users section from left pane. and then click on Add Users.
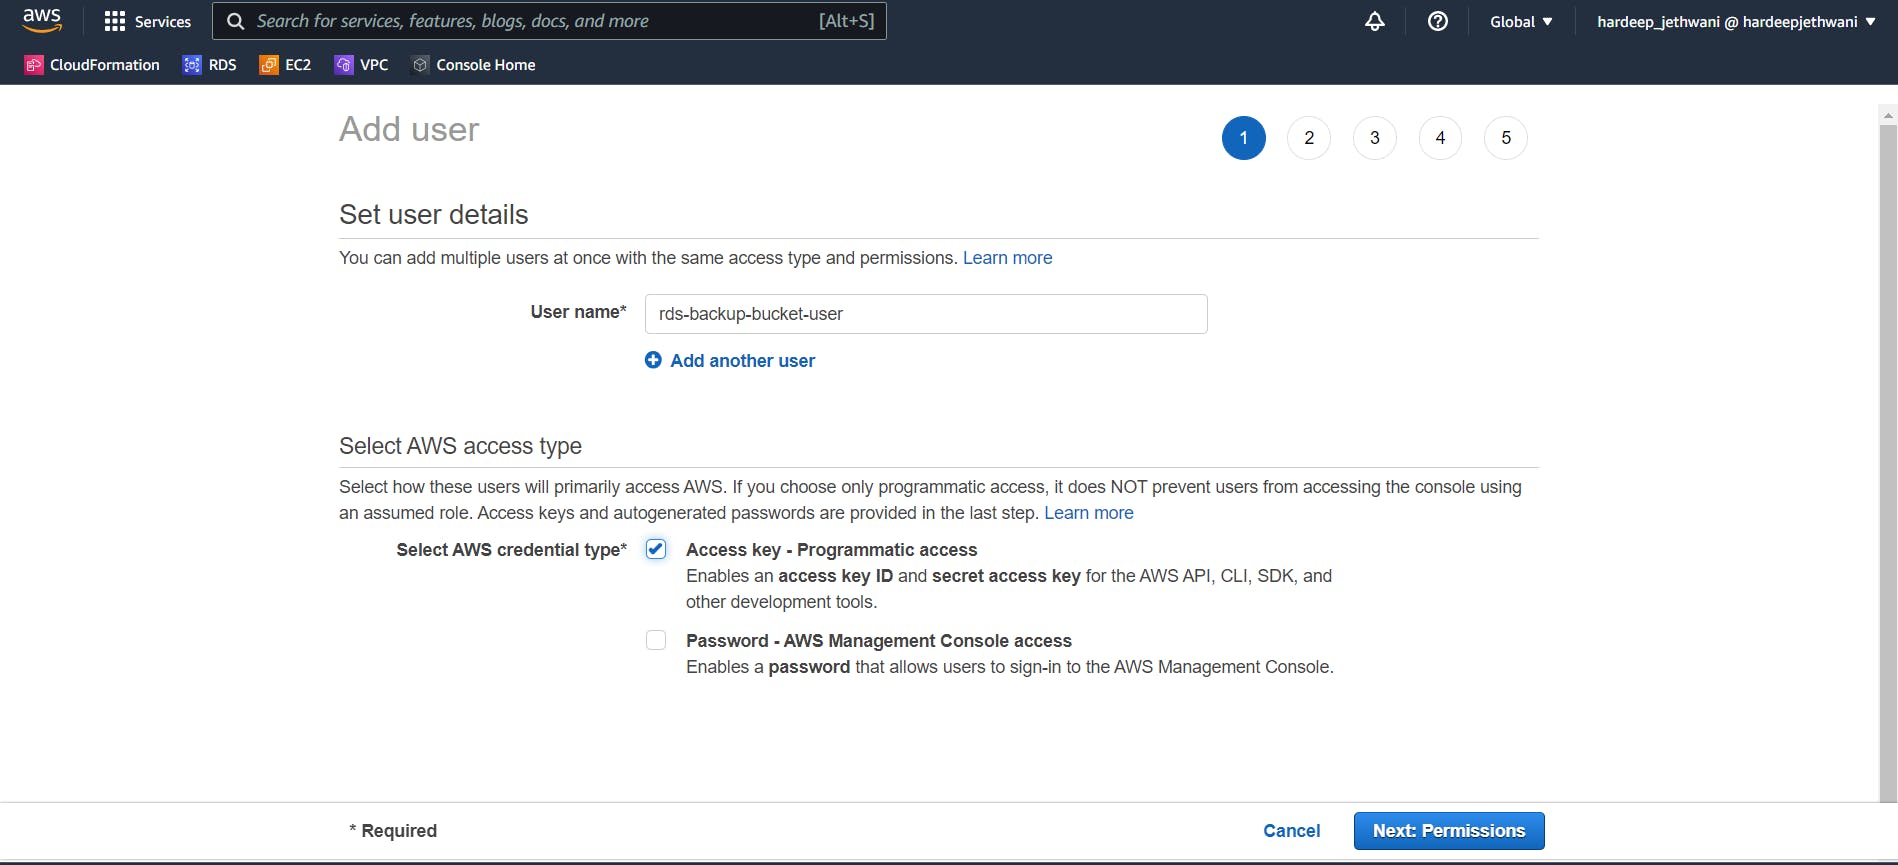
 Enter the username and Enable the Programmatic access via which we will get the access keys that we can use for accessing the aws resources via CLI & SDKs. We need this keys to upload our data dump to S3 using CLI.
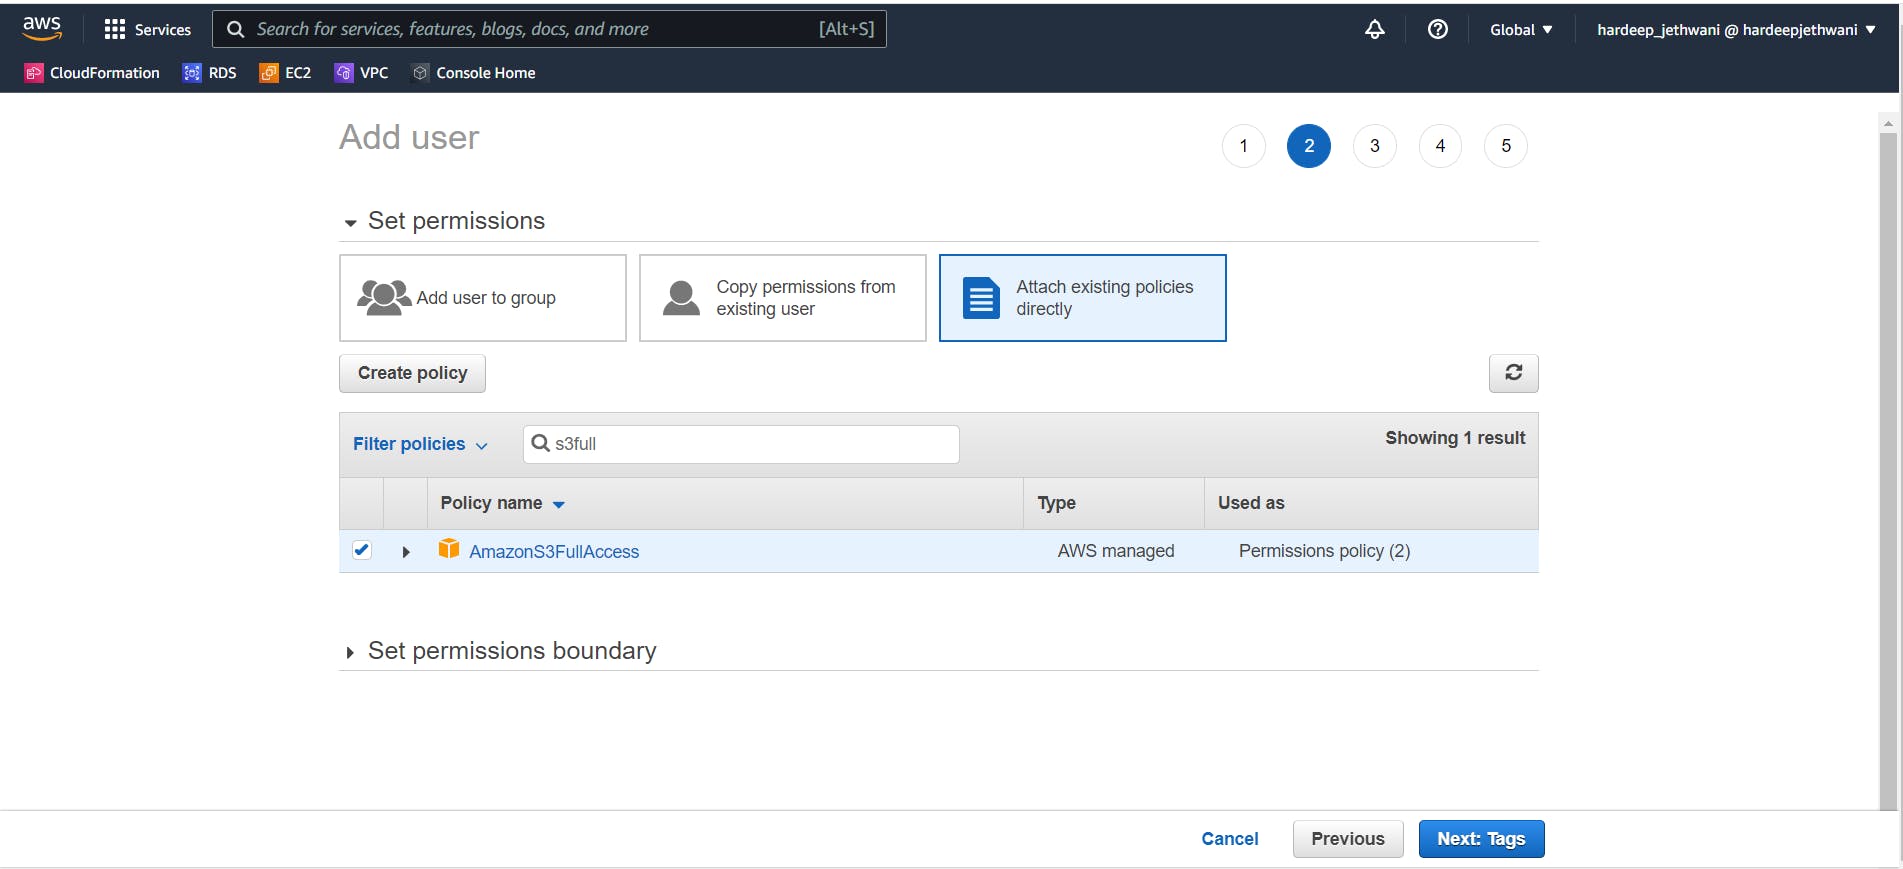
 Moving on to permission sections. Select the Add existing policies section and add the policy "S3FullAccess". Then move on to tags section and add tags if you want to. Then review the user details and create the user.
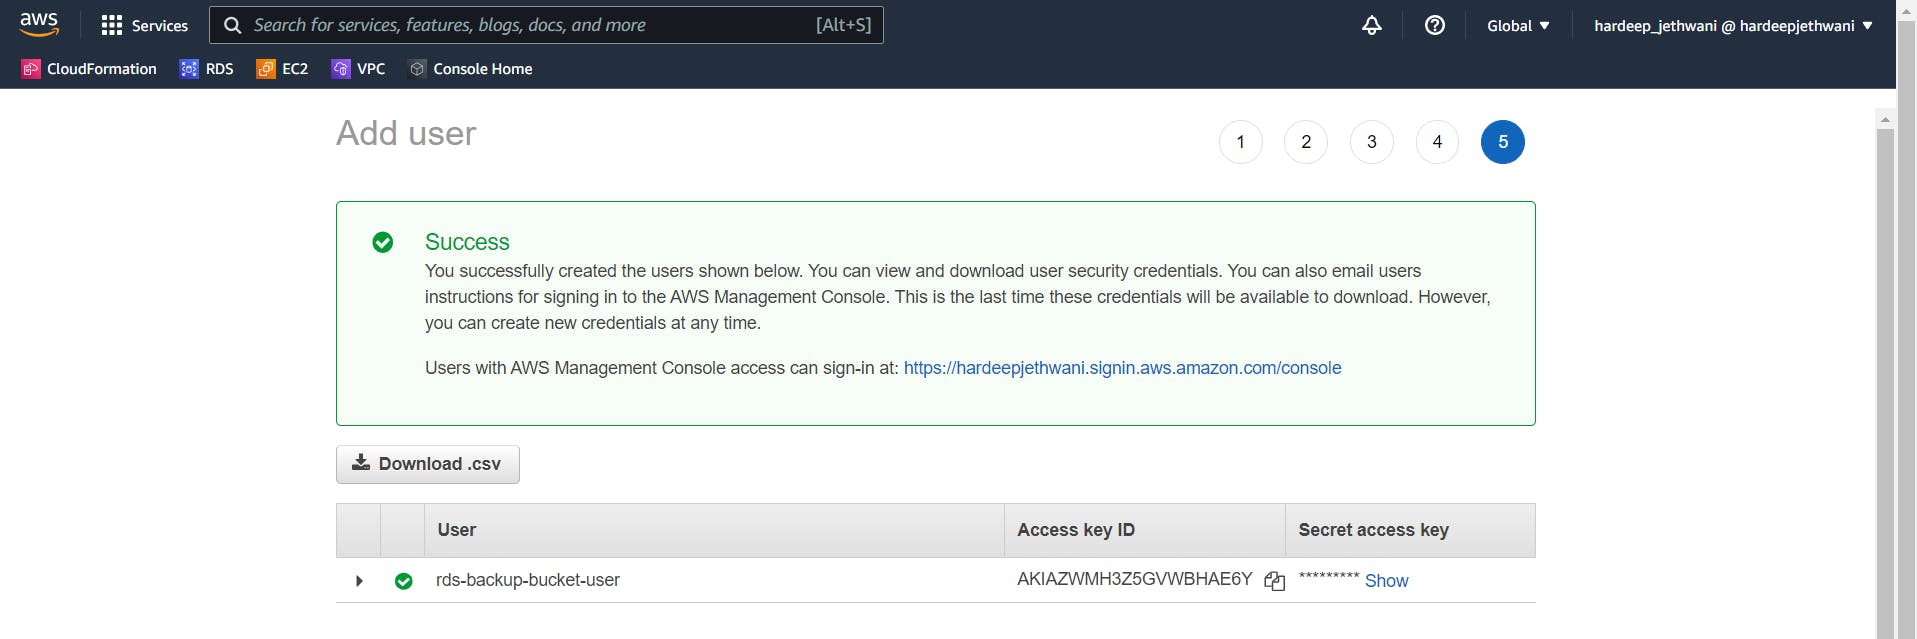
 Finally the user will be created and you will be able to see Access key generated. Just save that access key somewhere safely for later use.
Now let's move on to create our RDS instance where we will migrate our Oracle DB.
Creating RDS instance -
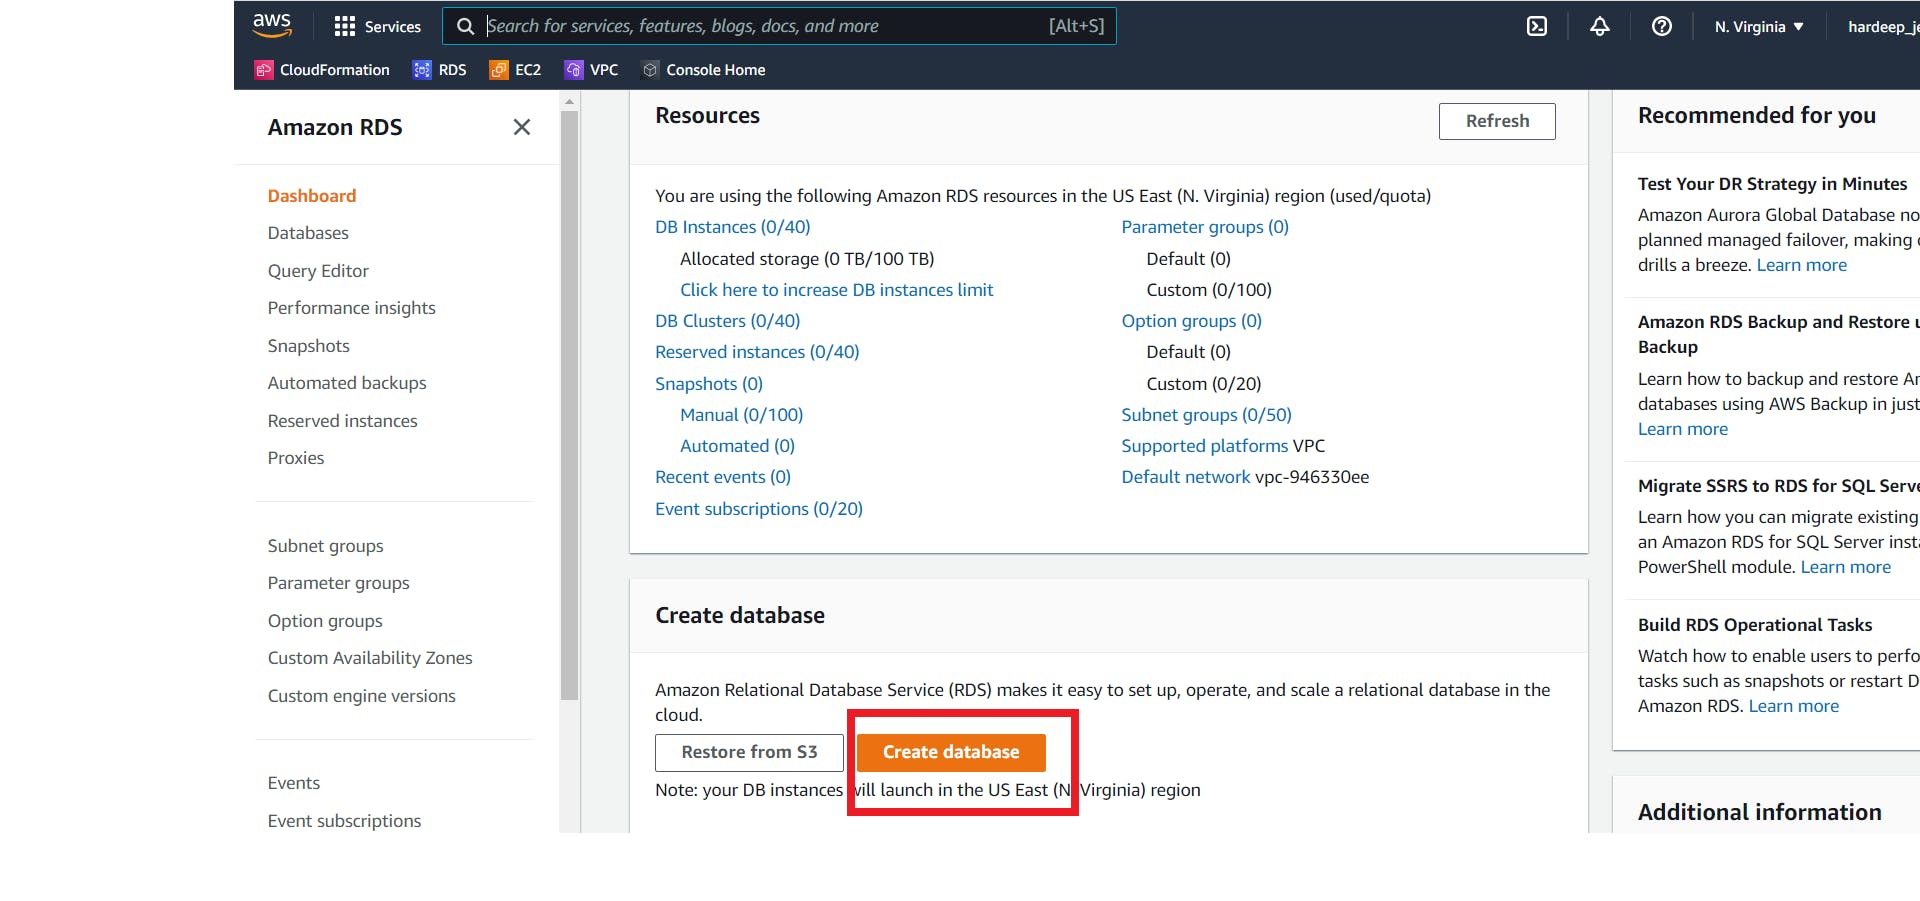
Go to RDS console and click over create Database.
Now you will have to enter all the required details so as to create your DB instance. Also In below Image you will see that I have used a Default VPC and Default Subnet. Ideally you should have your own VPC configured with a private or Intranet based subnet group (for security reasons).
you can update the parameter group options too. You might have got the details of source database parameters from spfile or pfile.

After adding all the details you can click on create Database. And then AWS will start creating your database instance.
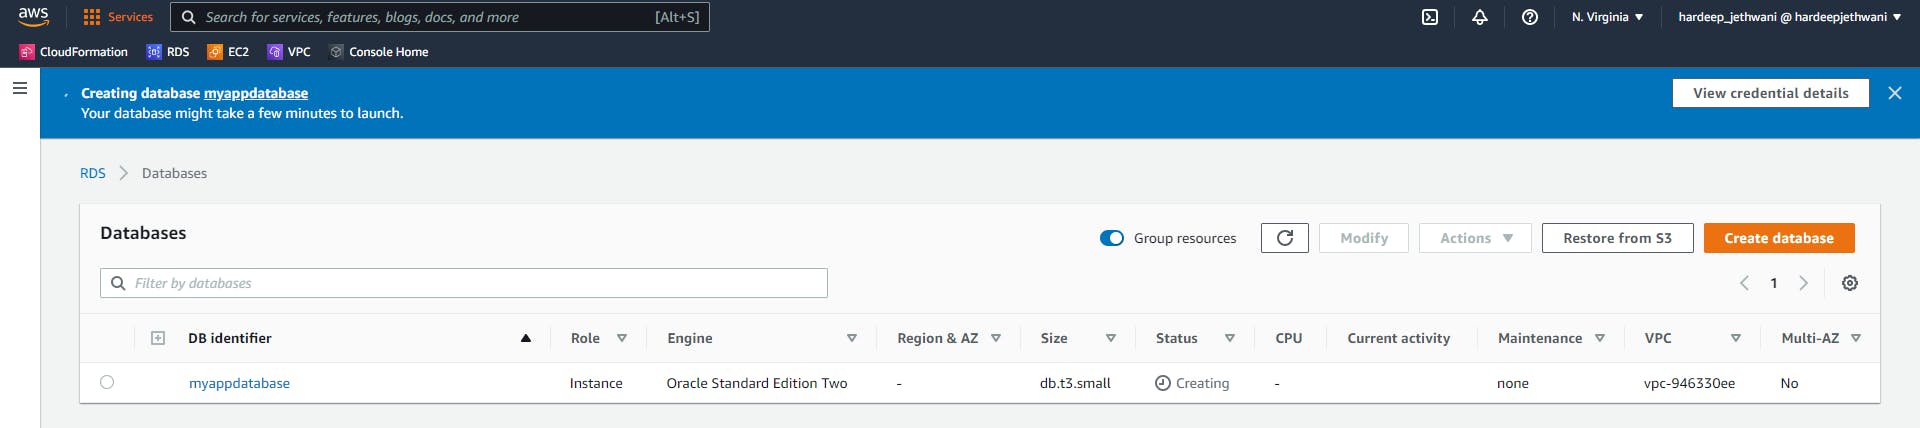
Note: If you are following this tutorial just for practice purpose then be informed that using RDS will incur you some cost.
Okay so now one important thing for you. If you have knowledge of AWS CloudFormation then you can also use below cloud formation template for creating all of the above resources. Or you can jump on to the later sections.
Cloud Formation template -
AWSTemplateFormatVersion: 2010-09-09
Description: This is database template for our Oracle DB Application

Parameters:
  ApplicationName:
    Description: Application Name
    Type: String

  EnvironmentName:
    Type: String

  BackupBucketname:
    Description: Bucket in which you want to store the database backup
    Type: String

  DBInstanceClass:
    Description: Database Instance Class; e.g db.m5.xlarge for general purpose
    Type: String

  DatabaseName:
    Description: Database Name
    Type: String

  BackupRetentionPeriod:
    Description: For how many days you want the backup to be retained ?
    Type: Number

  CidrIp:
    Description: IP range to allow incoming traffic on Database Port
    Type: String
    MinLength: '9'
    MaxLength: '18'
    AllowedPattern: (\d{1,3})\.(\d{1,3})\.(\d{1,3})\.(\d{1,3})/(\d{1,2})
    ConstraintDescription: Must be a valid IP CIDR range of the form x.x.x.x/x.

  DatabaseMasterUsername:
    Description: Database Master Username for RDS
    Type: String

  DatabasePort:
    Description: Database port. If the default -1 is unchanged, a default database port
      for the specified database type will be used
    Type: Number

  DBAllocatedStorage:
    Description: Size of the database (GiB)
    Type: Number
    MinValue: '20'
    MaxValue: '65536'
    ConstraintDescription: Must be between 20 and 65536 GiB.

  DeleteProtect:
    Description: Deletion protection of database
    Type: String
    AllowedValues:
    - true
    - false

  EnableEnhancedMonitoring:
    Description: Provides real time metrics for the operating system (OS) that your
      DB instance runs on.
    Type: String
    AllowedValues:
    - true
    - false

  EnableDBMultiAZ:
    Description: If enabled Non-Aurora DBs are created with a MultiAZ option.
    Type: String
    AllowedValues:
    - true
    - false

  MaxAutoscalingStorageLimit:
    Description: The Max size of the database (GiB) for Autoscaling
    Type: Number

  Vpc:
    Description: VPC Id in which you want to host the resource
    Type: AWS::EC2::VPC::Id

  VPCSubnet:
    Description: Name of the subnet
    Type: AWS::EC2::Subnet::Id

Conditions:

  HasEnhancedMonitoring:
    Fn::Equals:
    - Ref: EnableEnhancedMonitoring
    - 'true'

  PortIsMinusOne:
    Fn::Equals:
    - Ref: DatabasePort
    - '-1'

Resources:

  s3DbBackupBucket:
    Type: AWS::S3::Bucket
    Properties:
      BucketName:
        Ref: BackupBucketname
      AccessControl: Private

  EnhancedMonitoringRole:
    Condition: HasEnhancedMonitoring
    Type: AWS::IAM::Role
    Properties:
      AssumeRolePolicyDocument:
        Version: 2012-10-17
        Statement:
        - Sid: ''
          Effect: Allow
          Principal:
            Service: monitoring.rds.amazonaws.com
          Action: sts:AssumeRole
      ManagedPolicyArns:
      - arn:aws:iam::aws:policy/service-role/AmazonRDSEnhancedMonitoringRole
      Path: /

  OptionGrpRole:
    Type: AWS::IAM::Role
    Properties:
      AssumeRolePolicyDocument:
        Version: 2012-10-17
        Statement:
        - Effect: Allow
          Principal:
            Service: rds.amazonaws.com
          Action: sts:AssumeRole
      Path: /service-role/
      Policies:
      - PolicyName: OracleBackupRds
        PolicyDocument:
          Version: 2012-10-17
          Statement:
          - Effect: Allow
            Action:
            - s3:ListBucket
            - s3:GetBucketLocation
            Resource:
            - Fn::Sub: arn:aws:s3:::${s3DbBackupBucket}
          - Effect: Allow
            Action:
            - s3:GetObjectMetaData
            - s3:GetObject
            - s3:PutObject
            - s3:ListMultipartUploadParts
            - s3:AbortMultipartUpload
            Resource:
            - Fn::Sub: arn:aws:s3:::${s3DbBackupBucket}/*

  BackupOptionGroup:
    Type: AWS::RDS::OptionGroup
    DeletionPolicy: "Retain"
    Properties:
      EngineName:
        Ref: Engine
      MajorEngineVersion:
        Ref: EngineVersion
      OptionGroupDescription: adding mutiple options
      OptionConfigurations:
      - OptionName: S3_INTEGRATION
      - OptionName: JVM
      Tags:
      - Key: Name
        Value:
          Fn::Sub: ${ApplicationName}${EnvironmentName}-OracleRDS-db

  ParameterGroup:
    Type: AWS::RDS::DBParameterGroup
    DeletionPolicy: "Retain"
    Properties:
      Description: Oracle SE 2 Parameter Group
      Family: oracle-se2-19
      Parameters:
        aq_tm_processes : 0
        audit_sys_operations : FALSE
        audit_trail : NONE
        control_file_record_keep_time : 35
        db_block_checking : TRUE
        job_queue_processes : 30
        max_dump_file_size : 100M
        open_cursors : 700
        parallel_max_servers : 20
        processes : 250
        resource_limit : FALSE

  DBSecurityGroupIngress:
    Type: AWS::EC2::SecurityGroupIngress
    Properties:
      GroupId:
        Ref: DBSecurityGroup
      IpProtocol: tcp
      FromPort:
        Fn::GetAtt:
        - DBInstance
        - Endpoint.Port
      ToPort:
        Fn::GetAtt:
        - DBInstance
        - Endpoint.Port
      CidrIp:
        Ref: CidrIp
      Description: Allow access to the database on Database ports

  DBSecurityGroup:
    Type: AWS::EC2::SecurityGroup
    Properties:
      GroupDescription: Database security group
      VpcId:
        Ref: Vpc

  DBMasterSecret:
    Type: AWS::SecretsManager::Secret
    Properties:
      GenerateSecretString:
        SecretStringTemplate:
          Fn::Join:
          - ''
          - - '{"username": "'
            - Ref: DatabaseMasterUsername
            - '"}'
        GenerateStringKey: password
        ExcludePunctuation: true
        PasswordLength: 16

  SecretClusterAttachment:
    Type: AWS::SecretsManager::SecretTargetAttachment
    Properties:
      SecretId:
        Ref: DBMasterSecret
      TargetId:
        Ref: DBInstance
      TargetType: AWS::RDS::DBInstance

  DBSubnetGroup:
    Type: AWS::RDS::DBSubnetGroup
    Properties:
      DBSubnetGroupDescription: DB subnet group
      SubnetIds:
      - Ref: VPCSubnet

  DBInstance:
    Type: AWS::RDS::DBInstance
    Properties:
      AssociatedRoles:
      - FeatureName: S3_INTEGRATION
        RoleArn:
          Fn::GetAtt:
          - OptionGrpRole
          - Arn
      DBInstanceIdentifier:
        Fn::Sub: ${ApplicationName}${EnvironmentName}-OracleRDS
      DBName:
        Ref: DatabaseName
      DBInstanceClass:
        Ref: DBInstanceClass
      DeletionProtection:
        Ref: DeleteProtect
      DeleteAutomatedBackups: false
      AllocatedStorage:
        Ref: DBAllocatedStorage
      Engine: "oracle-se2"
      EngineVersion: "19"
     EnableCloudwatchLogExports:
       - alert
       - listener
       - trace
      LicenseModel: license-included
      Port:
        Fn::If:
        - PortIsMinusOne
        - Ref: AWS::NoValue
        - Ref: DatabasePort
      MasterUsername:
        Fn::Join:
        - ''
        - - '{{resolve:secretsmanager:'
          - Ref: DBMasterSecret
          - :SecretString:username}}
      MasterUserPassword:
        Fn::Join:
        - ''
        - - '{{resolve:secretsmanager:'
          - Ref: DBMasterSecret
          - :SecretString:password}}
      DBSubnetGroupName:
        Ref: DBSubnetGroup
      PubliclyAccessible: false
      PreferredBackupWindow: 01:30 - 2:30
      PreferredMaintenanceWindow: sun:03:00-sun:06:00
      StorageEncrypted: true
      MaxAllocatedStorage:
        Ref: MaxAutoscalingStorageLimit
      EnablePerformanceInsights: true
      BackupRetentionPeriod:
        Ref: BackupRetentionPeriod
      MonitoringInterval:
        Fn::If:
        - HasEnhancedMonitoring
        - 60
        - 0
      OptionGroupName:
        Ref: BackupOptionGroup

      DBParameterGroupName:
        Ref: ParameterGroup

      MonitoringRoleArn:
        Fn::If:
        - HasEnhancedMonitoring
        - Fn::GetAtt:
          - EnhancedMonitoringRole
          - Arn
        - Ref: AWS::NoValue
      StorageType: gp2
      VPCSecurityGroups:
      - Fn::GetAtt:
        - DBSecurityGroup
        - GroupId
      MultiAZ:
        Ref: EnableDBMultiAZ
      Tags:
      - Key: Name
        Value:
          Fn::Sub: ${ApplicationName}${EnvironmentName}-OracleRDS

Outputs:

  SecretKeyformyaccesskey:
    Value: !GetAtt myaccesskey.SecretAccessKey

  DBSecretName:
    Description: Secret name where DB username / password are stored
    Value:
      Ref: DBMasterSecret
    Export:
      Name:
        Fn::Sub: ${ApplicationName}${EnvironmentName}-DBSecretName

  DBEndpoint:
    Description: database endpoint
    Value:
      Fn::GetAtt:
      - DBInstance
      - Endpoint.Address
    Export:
      Name:
        Fn::Sub: ${ApplicationName}${EnvironmentName}-DBEndpoint

  DBPort:
    Description: database listener port
    Value:
      Fn::GetAtt:
      - DBInstance
      - Endpoint.Port
    Export:
      Name:
        Fn::Sub: ${ApplicationName}${EnvironmentName}-DBPort
So part -I of this tutorial is to an end !! Now we have our resource creation done and we have all the Analysis details too. In part - II we will perform the following tasks :
- Uploading the Database dump to S3 bucket using CLI.
- Copying the dump to RDS Oracle Database Directory using S3 Integration feature
- Creating the required tablespaces, profiles, roles and users.
- Importing the dump using PLSQL procedure
Don't stop here !! We are more than half a way to complete our database migration. Let's move on to Part - II .